绿联 DH4300 Plus (RK3588) Jellyfin 硬件解码完整教程
This tutorial will teach you step-by-step how to deploy a Jellyfin Docker container on the UGREEN DH4300 Plus (RK3588) and enable hardware transcoding.
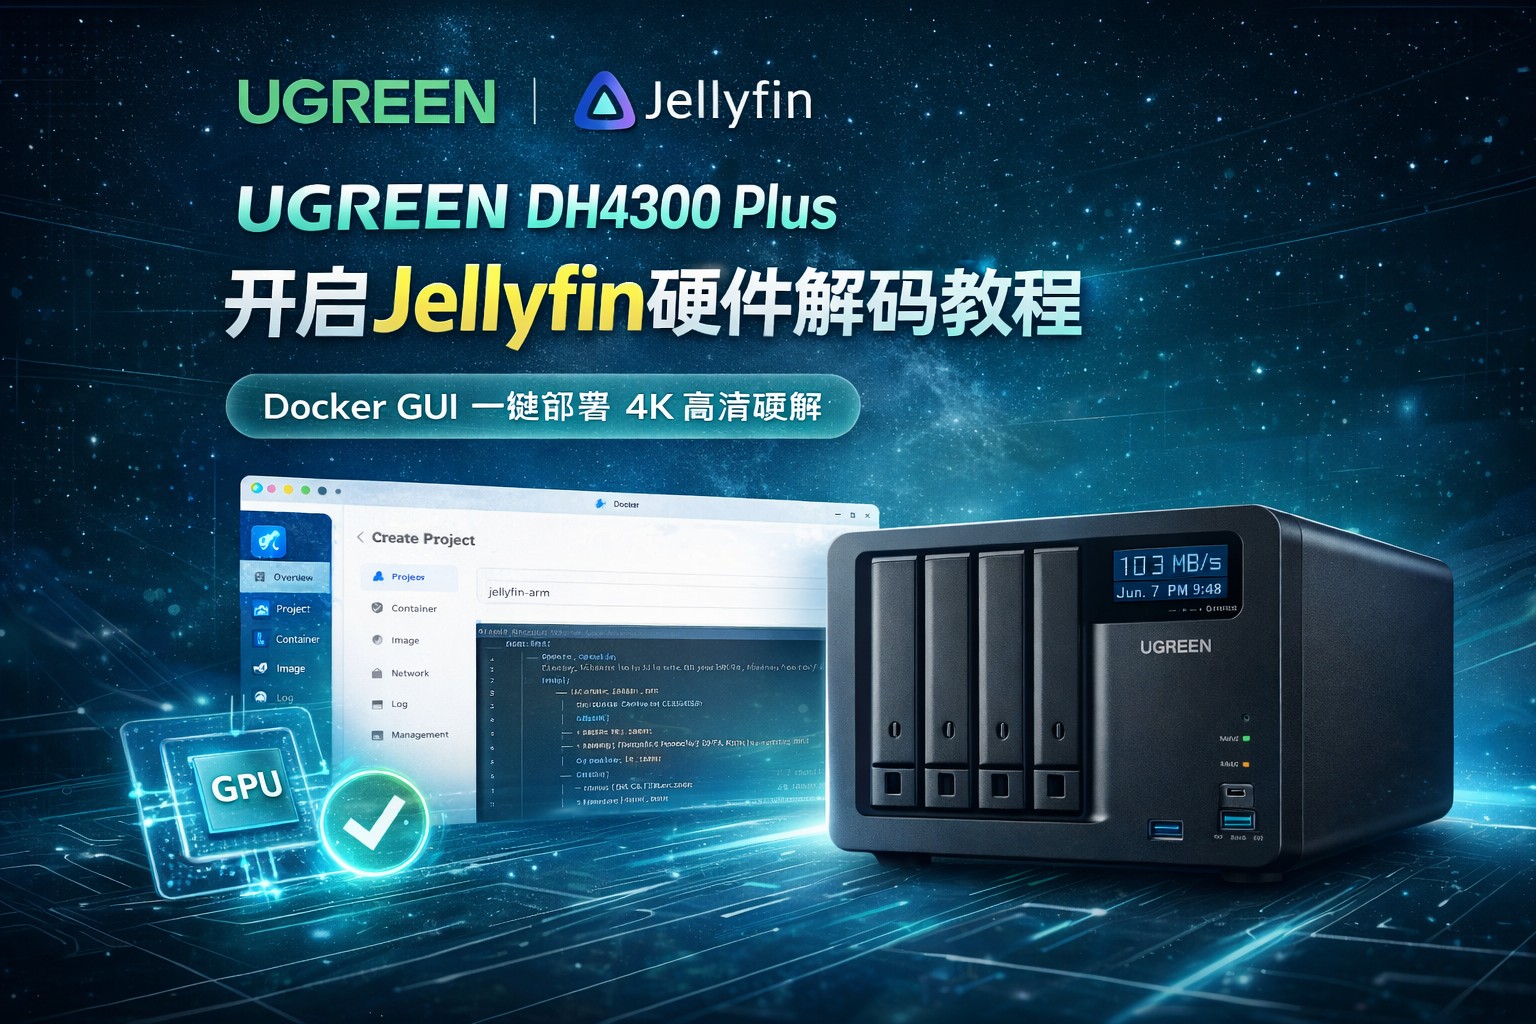
本教程将一步一步教你如何在 UGREEN DH4300 Plus (RK3588) 上部署 Jellyfin Docker 容器并开启硬件解码。
Tutorial Features / 教程特点:
- Deployment: Uses UGREEN Docker GUI / 部署方式: 使用绿联 Docker GUI 部署
- Performance: Supports 4K hardware transcoding / 转码能力: 支持 4K 硬件转码
- HDR: Supports HDR Tone Mapping / HDR: 支持 HDR Tone Mapping
0. Hardware Capabilities (RK3588) / 硬件解码能力说明
The UGREEN DH4300 Plus uses the Rockchip RK3588. Its video hardware capabilities are as follows:
UGREEN DH4300 Plus 使用 Rockchip RK3588,其视频硬件能力如下:
| Codec / 编解码 | Decode / 支持解码 | Encode / 支持编码 |
| H264 | Supported / 支持 | Supported / 支持 |
| H265 | Supported / 支持 | Supported / 支持 |
| AV1 | Supported / 支持 | NOT Supported / 不支持 |
| HDR Tone Mapping | Supported (OpenCL) / 支持 (OpenCL) | – |
Theoretical Capacity / 理论转码能力:
- 1080P H264: 10+ streams / 10路以上
- 4K H264: 4-6 streams / 4-6路
- 4K H265: 3-4 streams / 3-4路
Step 1: Prepare Docker Compose Configuration
第一步:准备 Docker Compose 配置
Even when using the GUI, you need to prepare the Compose configuration to paste into the Docker Project.
即使使用 Docker GUI 部署,也需要准备 Compose 配置内容,稍后会粘贴到 Docker Project 中。
services:
  jellyfin:
    # Optimized image for Rockchip platforms
    # 使用针对 Rockchip 平台优化的 Jellyfin 镜像
    image: nyanmisaka/jellyfin:latest-rockchip
    container_name: jellyfin
    restart: always

    # Privileged mode: Allows container to access host hardware (VPU / GPU)
    # 启用特权模式:允许容器访问宿主机硬件设备(VPU / GPU 等)
    privileged: true

    # Host network: Uses NAS network interface directly to avoid port mapping issues
    # 使用 host 网络模式:容器直接使用 NAS 的网络接口,可避免端口映射问题
    network_mode: "host"

    # Mapping hardware acceleration devices
    # 映射 Rockchip 硬件加速相关设备
    devices:
      - /dev/dri:/dev/dri                 # GPU / DRM Interface
      - /dev/dma_heap:/dev/dma_heap       # DMA Heap
      - /dev/mpp_service:/dev/mpp_service # MPP VPU Core Service
      - /dev/rga:/dev/rga                 # RGA 2D Accelerator
      - /dev/mali0:/dev/mali0             # Mali GPU (OpenCL / HDR Tone Mapping)

      # Compatibility devices (optional but recommended)
      # 以下设备用于兼容性,即使不存在也不会影响启动
      - /dev/iep:/dev/iep
      - /dev/mpp-service:/dev/mpp-service
      - /dev/vpu_service:/dev/vpu_service
      - /dev/vpu-service:/dev/vpu-service
      - /dev/hevc_service:/dev/hevc_service
      - /dev/hevc-service:/dev/hevc-service
      - /dev/rkvdec:/dev/rkvdec
      - /dev/rkvenc:/dev/rkvenc
      - /dev/vepu:/dev/vepu
      - /dev/h265e:/dev/h265e

    environment:
      # PUID/PGID for container permissions. Default 1000/10 works for most NAS.
      # PUID / PGID 用于设置容器运行用户权限,默认 1000 / 10 即可。
      PUID: 1000
      PGID: 10

    volumes:
      # Jellyfin configuration directory / 配置文件目录
      - ./config:/config
      # Jellyfin transcoding cache directory / 转码缓存目录
      - ./cache:/cache
      # Media directory (Modify to your own path!) / 媒体目录 (请修改为你自己的路径!)
      - /volume2/video:/video
Parameter Explanation / 参数说明:
| Parameter / 参数 | Function / 作用 |
| privileged | Allows hardware access / 允许容器访问硬件 |
| host network | Simplifies port management / 简化端口管理 |
| /dev/mpp_service | Rockchip VPU Hardware / 瑞芯微视频处理单元 |
| /dev/rga | Image acceleration / 图像加速 |
| /dev/mali0 | GPU for OpenCL |
Step 2: Configure System Permissions (Crucial Step)
第二步:配置主机系统权限(核心步骤)
If you don’t do this, Docker will not be able to access the RK3588 hardware.
如果不执行这一步,Docker 无法访问 RK3588 硬件加速设备。
- Enable SSH / 开启 SSH:
- Go to: Control Panel → Terminal → SSH → Enable SSH.
- 进入:控制面板 → 终端机 → SSH → 开启 SSH。
- Login to NAS / 登录 NAS:
- Use a terminal (e.g., CMD, Putty): ssh username@NAS_IP
- 使用终端连接:
ssh 用户名@NAS_IP
- Create Udev Rules / 创建 Udev 规则:
- Execute:
sudo nano /etc/udev/rules.d/99-rk-device-permissions.rules
- Execute:
- Paste the following / 粘贴以下内容:
KERNEL=="mpp_service", MODE="0660", GROUP="video"
KERNEL=="rga", MODE="0660", GROUP="video"
KERNEL=="system", MODE="0666", GROUP="video"
KERNEL=="system-dma32", MODE="0666", GROUP="video"
KERNEL=="system-uncached", MODE="0666", GROUP="video"
KERNEL=="system-uncached-dma32", MODE="0666", GROUP="video"
RUN+="/usr/bin/chmod a+rw /dev/dma_heap"- Save and exit (Ctrl+O, Enter, Ctrl+X). / 保存并退出。
- Reboot NAS / 重启 NAS:
- Execute:
sudo reboot
- Execute:
- Install Mali OpenCL (Optional for HDR) / 安装 Mali OpenCL(HDR可选):
- If you need HDR Tone Mapping, run: / 如果需要 HDR 转码,执行:
sudo apt update sudo apt install libmali-valhall-g610-g13p0-gbm
Step 3: Deploy with UGREEN Docker GUI
第三步:使用 Docker GUI 部署 Jellyfin
- Open Docker app on the NAS desktop. / 进入 NAS 桌面,打开 Docker。
- Click Project on the left, then click Create Project. / 点击左侧 项目,然后点击 创建项目。
- Enter Project Name / 输入项目名称: e.g., jellyfin-arm.
- Storage Path / 存储路径: Will be generated automatically (e.g., docker/jellyfin-arm). / 自动生成,无需修改。
- Compose Configuration / 填写 Compose 配置: Paste the code from Step 1. / 粘贴第一步准备的配置。
- Deploy / 部署容器: Check “Run immediately after creation” and click Deploy. / 勾选“立即启动”,点击立即部署。
- Wait 1-2 minutes for the initial setup. / 首次启动约 1-2分钟。
Step 4: Access and Setup Jellyfin
第四步:访问并配置 Jellyfin
- Open your browser and go to:
http://NAS_IP:8096. / 浏览器打开:http://NAS_IP:8096。 - Create your admin account, set the language, and add your media libraries. / 创建管理员、设置语言、添加媒体库。
Step 5: Enable Hardware Acceleration
第五步:开启硬件加速
- Login and go to Dashboard → Playback → Transcoding. / 登录后进入 控制台 → 播放 → 转码。
- Hardware Acceleration: Select RKMPP. / 硬件加速: 选择 RKMPP。
- Hardware Decoders: Check H264, HEVC, AV1. / 解码器: 勾选 H264, HEVC, AV1。
- Hardware Encoders: Check H264, HEVC. / 编码器: 勾选 H264, HEVC。
- ⚠️ DO NOT check AV1 Encoding. / 不要勾选 AV1 编码 (RK3588 does not support AV1 hardware encoding).
- HDR Tone Mapping: If OpenCL is installed, enable OpenCL Tone Mapping. / HDR 色调映射: 启用 OpenCL 色调映射。
Step 6: Verification
第六步:验证硬件解码
- Play a video that requires transcoding. (e.g., play 4K and manually switch to 720P). / 播放一个需要转码的视频(如 4K 转 720P)。
- Check Playback Info / 查看播放信息: Click the player settings and select “Playback Info”. It should show Transcoding (Hardware). / 点击播放器“播放信息”,应显示 转码 (Hardware)。
- Check RGA Load (Advanced) / 验证 RGA 负载(进阶):
Run this in SSH while playing / 转码时在 SSH 执行:sudo watch -n 1 cat /sys/kernel/debug/rkrga/load
- If the values jump from 0 to non-zero (e.g., 12, 35), hardware acceleration is working! / 如果数值在 0 与非零之间跳动,说明硬件加速管线已生效!
Recommended Media Structure / 推荐媒体库目录结构
Avoid scraping failures by using this structure: / 建议使用以下结构,避免刮削失败:
video
 ├─ Movies
 │   └─ Avatar (2009)
 │       └─ Avatar (2009).mkv
 └─ TV Shows
     └─ Breaking Bad
         └─ Season 01
             └─ Breaking.Bad.S01E01.mkv
FAQ / 常见问题
- Startup failed? / 启动失败? Check logs: docker logs jellyfin.
- No hardware transcoding? / 没有硬件转码? Check device: ls /dev | grep mpp. It should show mpp_service.
- HDR not working? / HDR 不生效? Confirm libmali-valhall-g610 is installed.
Tutorial Complete! / 教程完成!